
Unless you're a hobby photographer while operating your restaurant or café, you probably don't have high-tech camera equipment at your disposal. If you don't have a budget for a professional photographer, you might be using your trusty smartphone to take photos for your menu. Here are some tips to get the most of the tools at hand (literally).
Get ready
First make the time and make a plan. You want all your photos to be consistent, so make sure you have enough time to prepare your menu items and photograph them. Use your existing menu as a guide, and make note of a few more images that you would like to have on hand for social media to create your own stock photo library.
Make sure that you have a recent model smartphone without a cracked lens, and give it a wipe to make sure the lens is clean. It sounds obvious, but it would surprise you how many photos are affected by this unexpected filter.
Pick your background. Clean, simple backgrounds are usually the best way to go. There might be a wall, table, or counter in your venue that works well, or you may need to pick up a large piece of card or tile to use as a background. If you do get a background prop, make sure you keep it for next time!
Lights, Camera
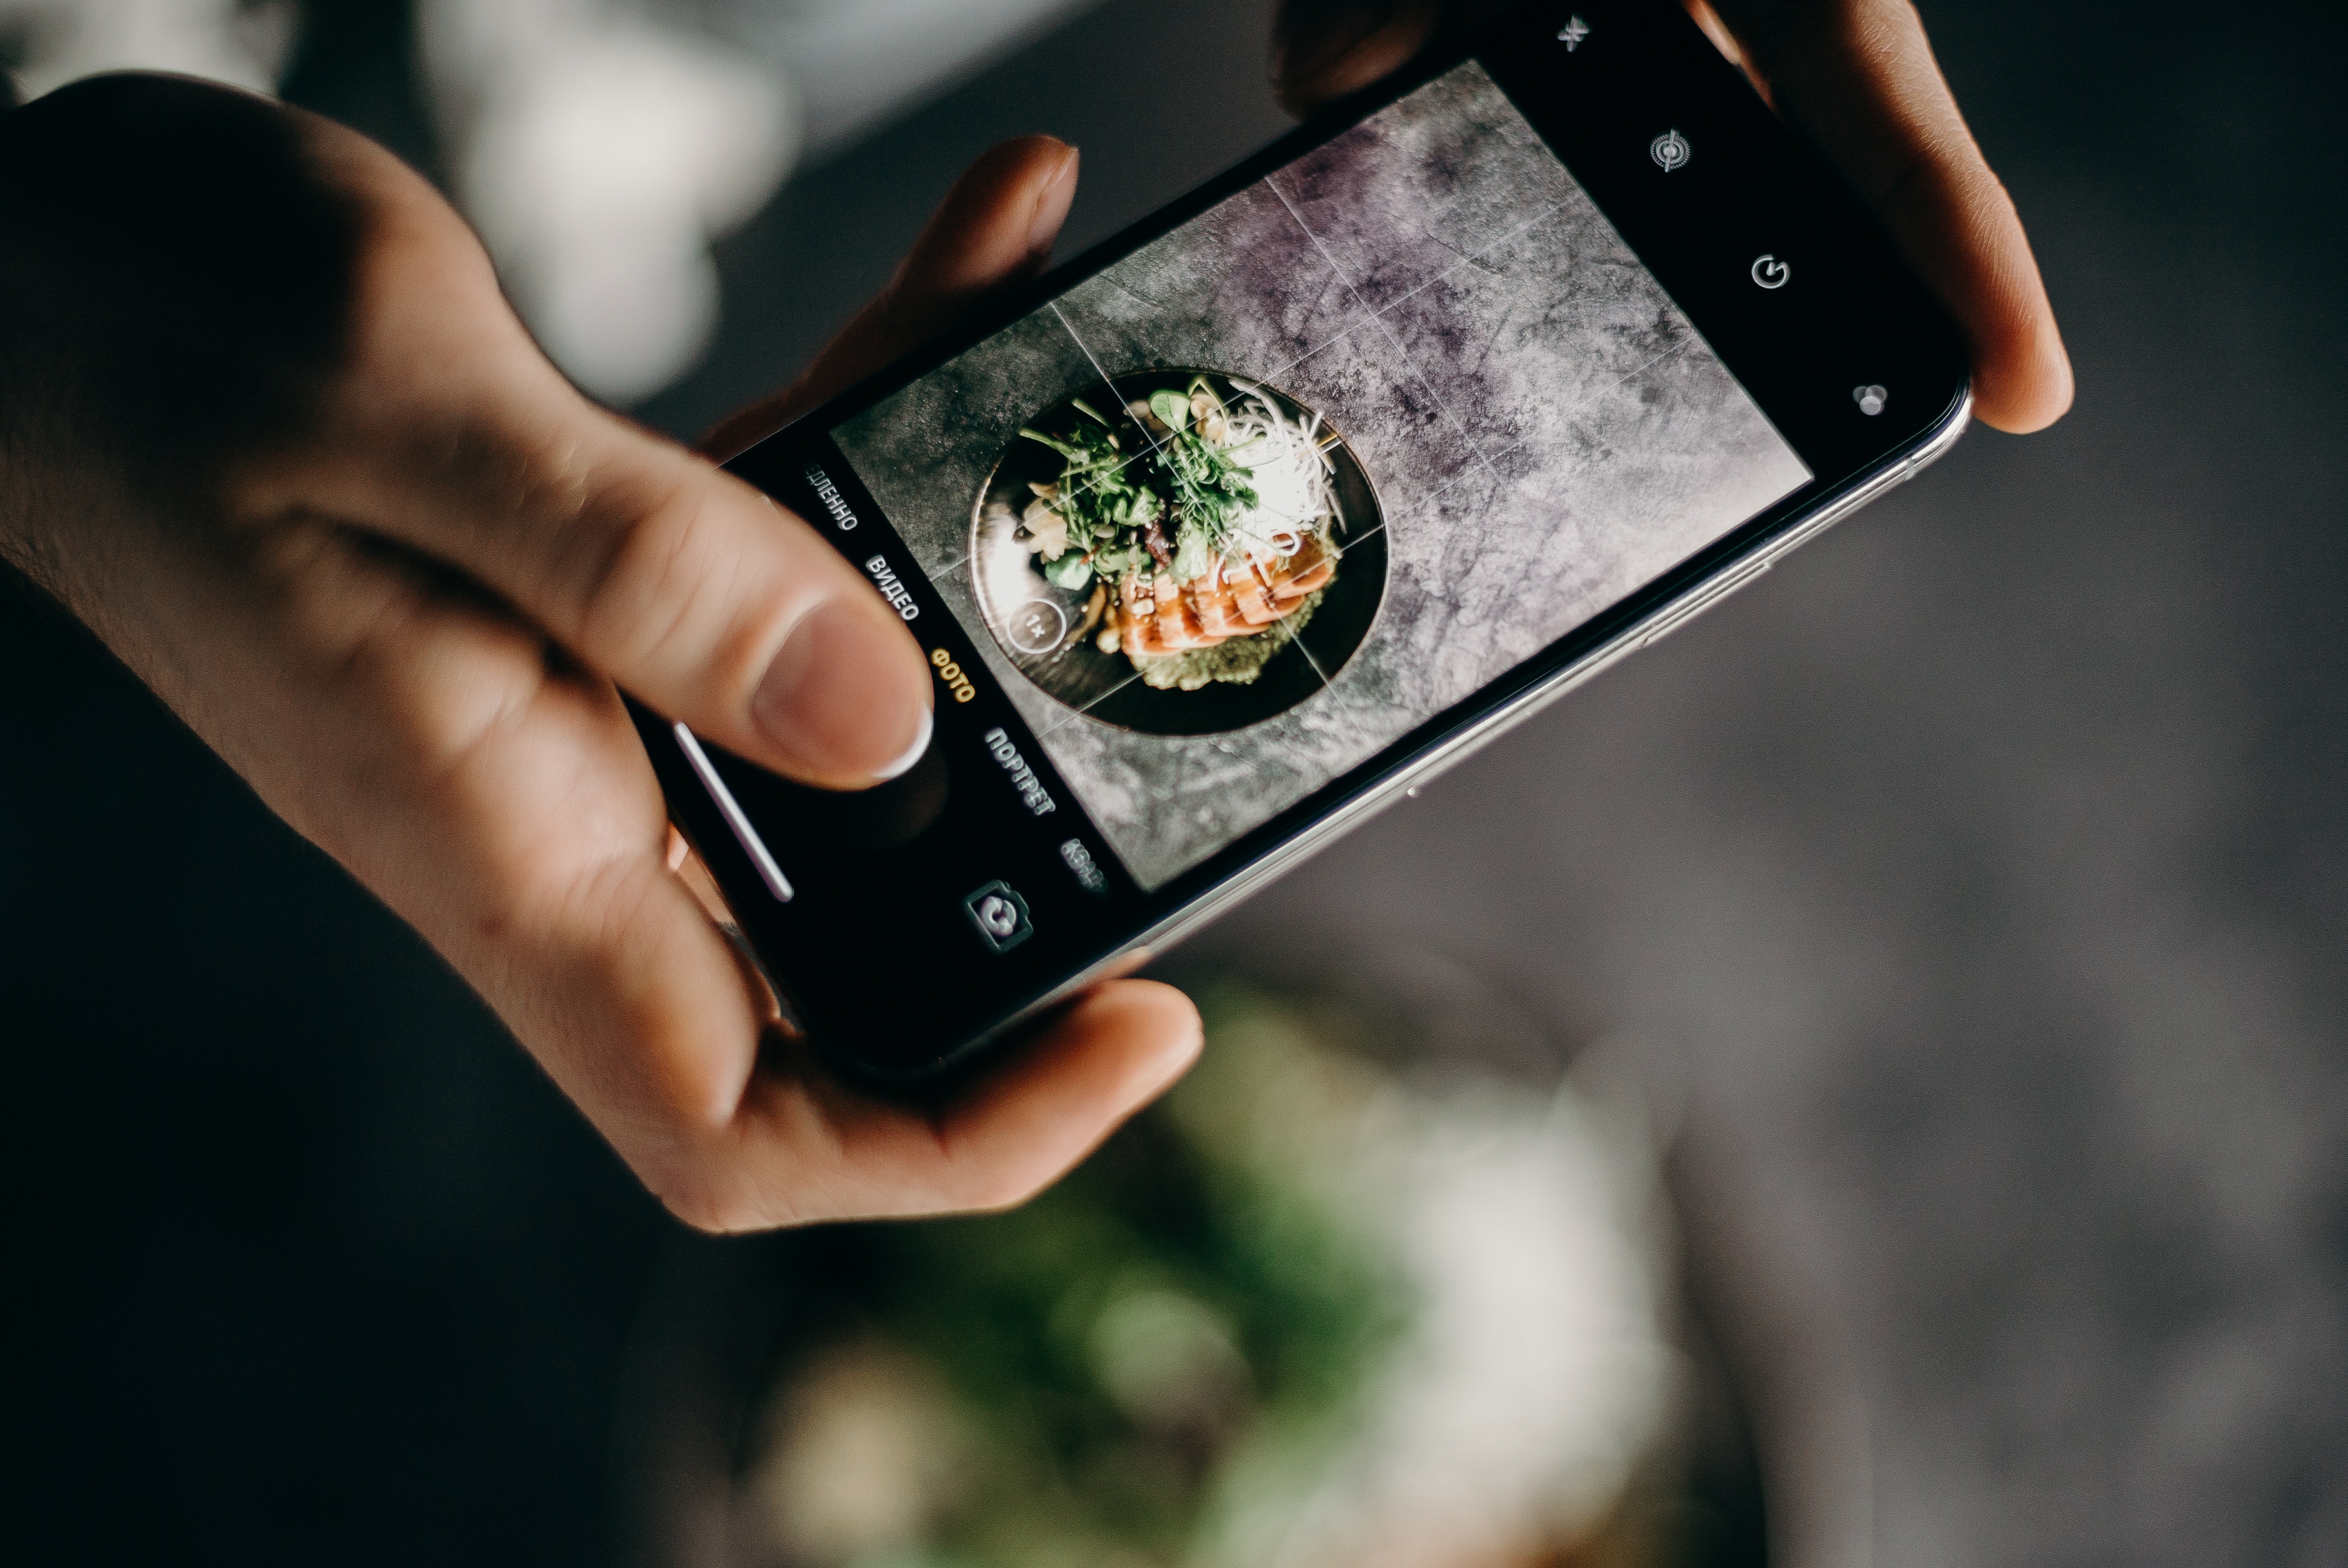
The important thing is to get the basics right; lighting and composition. Use your smartphone's grid setting to overlay a grid onto every photo you're taking. That way you can make sure that your lines are straight, or divide your frame into thirds to help with balance and composition. You can control the exposure on your phone like you can on a camera. When you open the camera app, tap on your screen where you want to focus and you will see a sun icon appear. Slide your finger up and down to adjust how much light comes in before you take your photo.
Use natural light where possible. Find soft, non-direct natural light for all photos. Avoid shadows cast by lights by using a light diffuser (or baking paper!), or take photos near a window where you can make use of the light coming in.
Know your angles
Try a couple of different angles to see what you like best; two popular angles are at eye-level or from a bird's eye view. Taking a photo from above so you can get the whole table in and showcase an entire order. Flat lay photos are super popular on social media. Snap menu items with stacked ingredients like burgers from the side. Rest on the table surface to keep your camera steady, or get a tripod to help with this. While the food or drink is the focus of the photo, try placing items in different parts of the grid. Try setting a place with napkins, condiments, and table decorations to bring your menu item to life — show your customers what it's like when they order it!
Avoid using zoom, and get closer so your photos stay nice and clear. Take lots of photos from different angles with different props and see which ones turn out the best. You can always download an app like Adobe Lightroom, Snapseed or VSCO to edit your photos afterwards.
Get social
For social media, bringing some humanity into the frame can bring your photos to life. A person's hand holding a drink or forkful of your delicious meals ready to devour, can show your audience how appetising it can be. Show menu items that can be ordered together to inspire extra sales.
You want your photos to appeal to customers browsing the web or mobile apps. Make your venue listing image a flat lay featuring your most popular menu items. If you’re a coffee shop, show off your latte art. If you’re a health food café, show off your most colourful salads or açai bowls. Choose a range of your most photogenic menu items.
Don't be afraid to try a few things to get the best pictures. Practice makes perfect. You'll have plenty of treats to keep you going, and surely a few willing hands to help and make sure your model menu items don't go to waste 😋